✅ Edited and Verified by the Epcland Engineering Team
ASME B31.3 Pipe Thickness Calculation: Formula, Examples & Schedule Selection
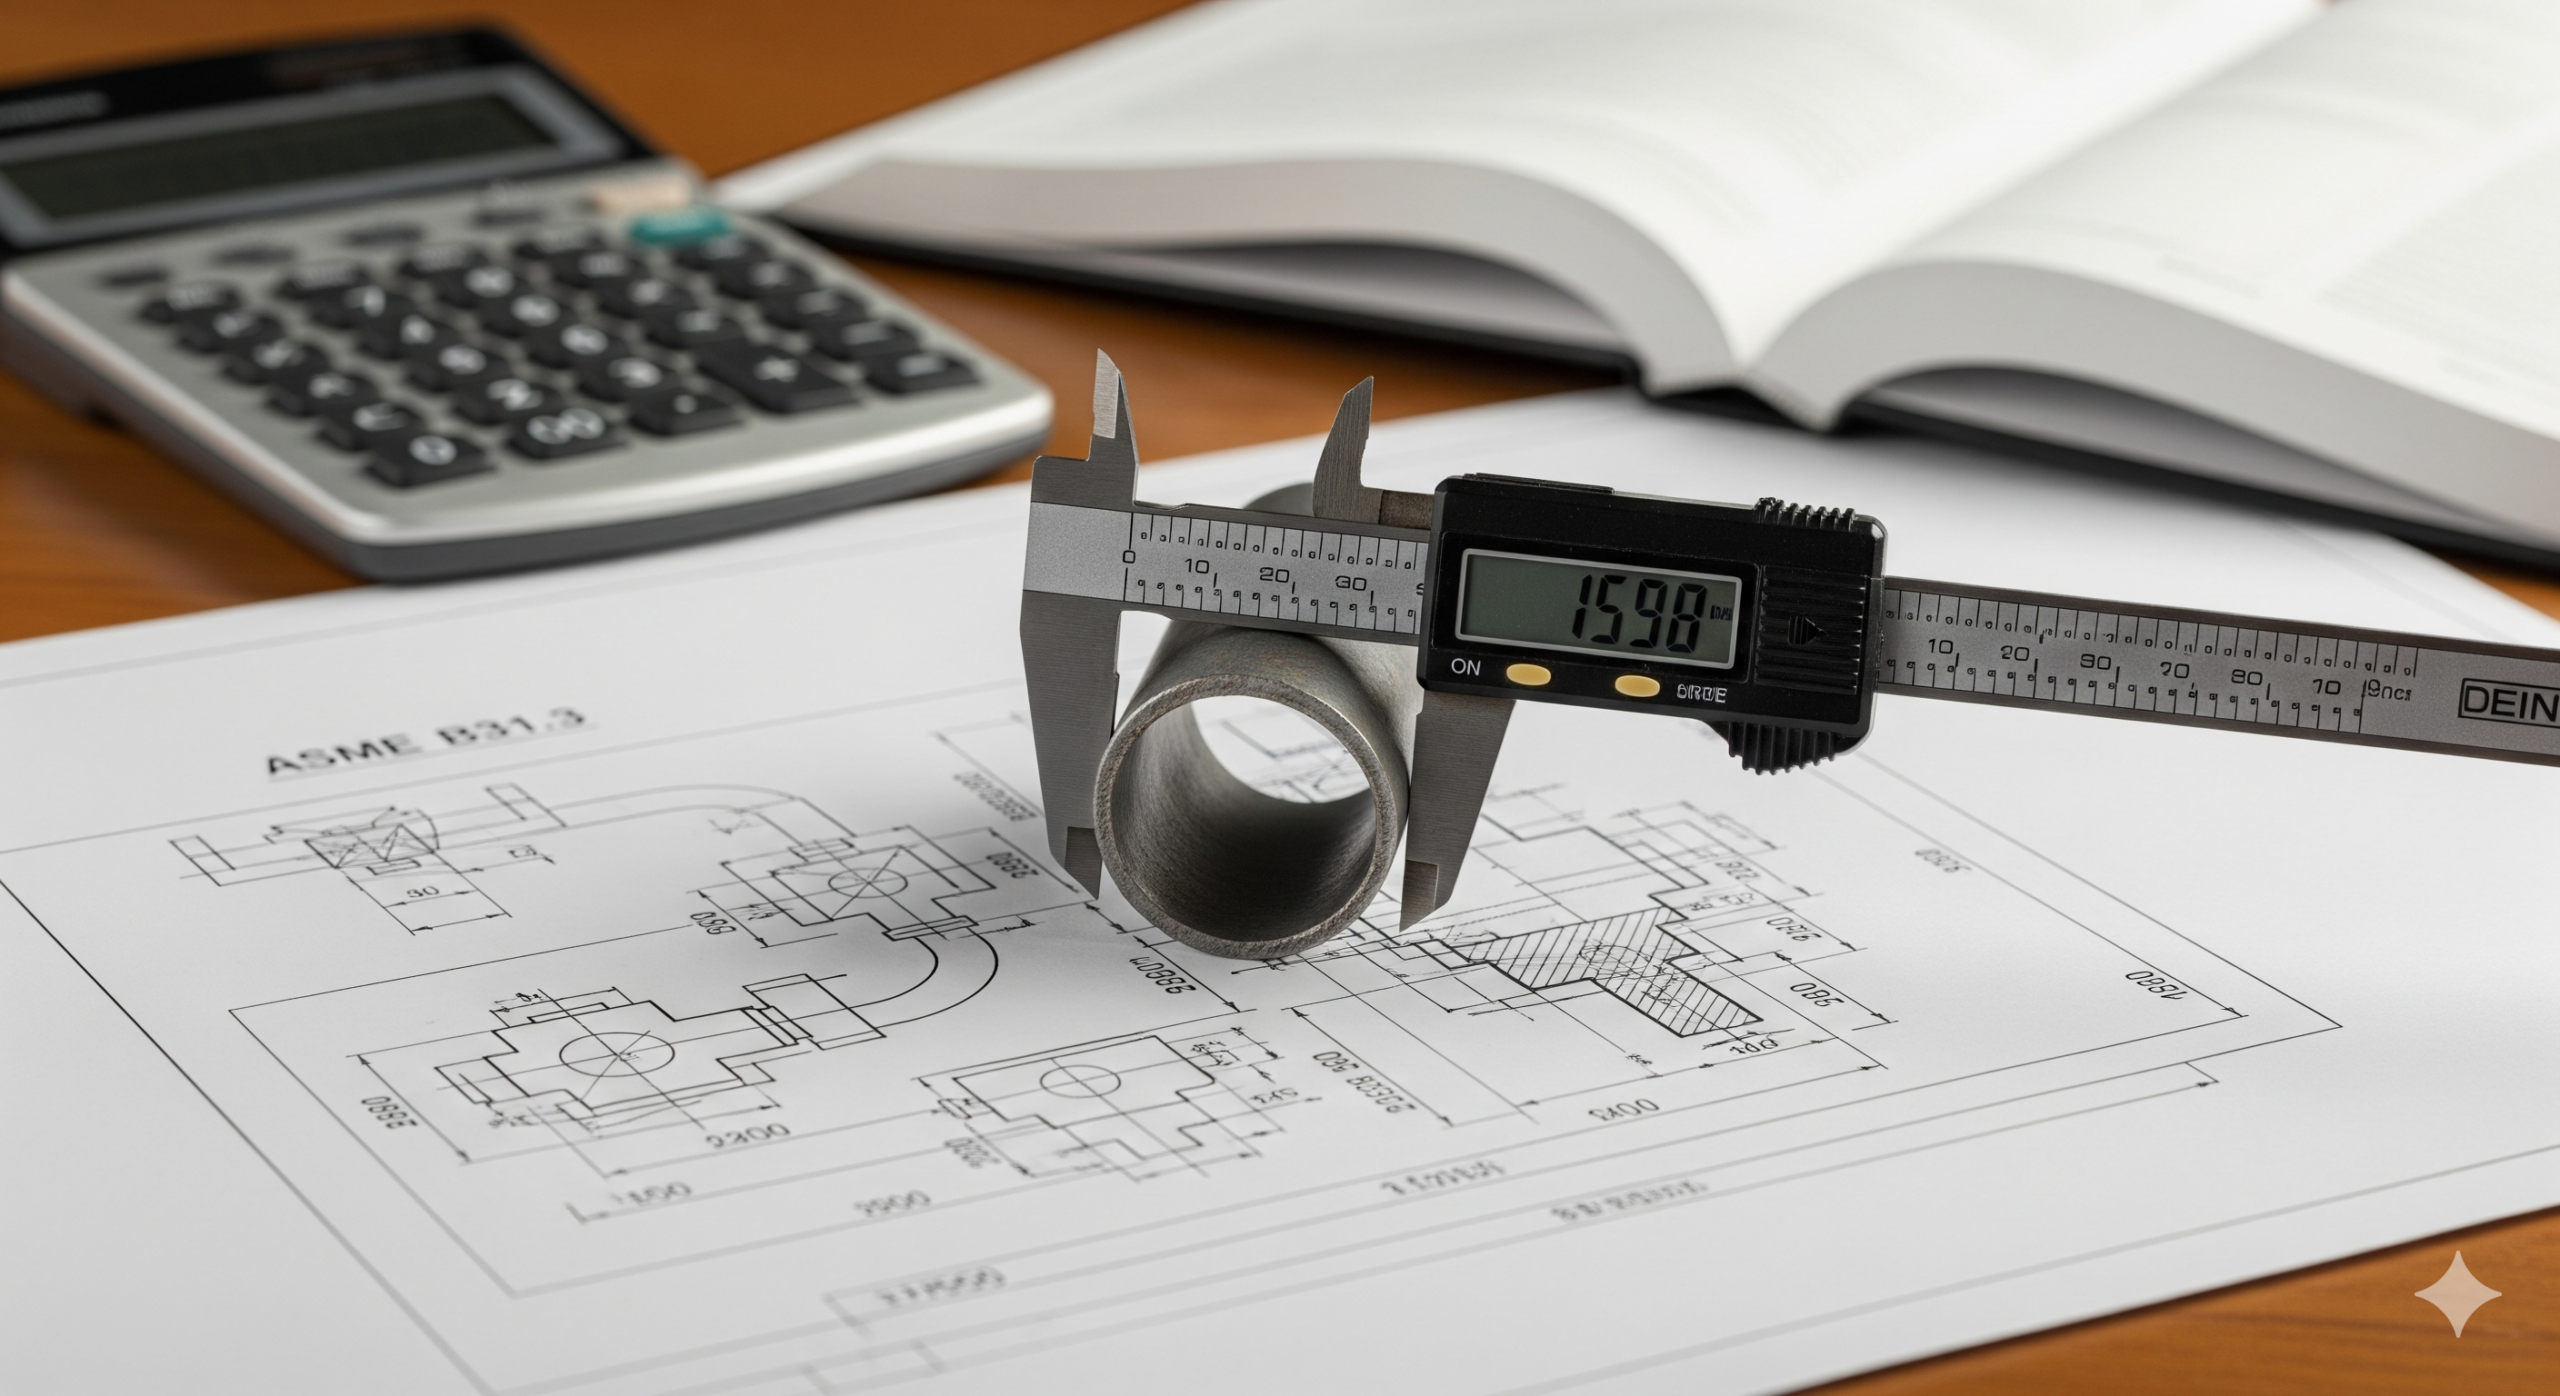
The Direct Answer: Per ASME B31.3 Paragraph 304.1.2, the pressure design thickness (t) for straight pipe under internal pressure is calculated as t = PD / 2(SE + PY). However, the final selected pipe schedule must account for mill tolerance, corrosion allowance, and thread depth.
The Real-World Challenge: A frequent conflict in piping design occurs between Process and Mechanical teams. The Process engineer might demand a high Corrosion Allowance (e.g., 6mm) for longevity, but this extra metal often pushes the design from a standard, cheap Schedule 40 to an expensive Schedule 80 or 160. This guide explains how to calculate thickness accurately to balance safety with procurement reality.
Test Your Knowledge: B31.3 Basics
1. In the formula t = PD / 2(SE + PY), what does ‘S’ represent?
2. What is the standard Mill Under-Tolerance for seamless pipe?
3. Which thickness is used to select the Pipe Schedule from B36.10?
4. If ‘t’ (pressure) is 4mm and Corrosion Allowance is 3mm, what is t_min?
5. The Quality Factor ‘E’ for Seamless Pipe is usually:
Table of Contents
Complete Course on
Piping Engineering
Check Now
Key Features
- 125+ Hours Content
- 500+ Recorded Lectures
- 20+ Years Exp.
- Lifetime Access
Coverage
- Codes & Standards
- Layouts & Design
- Material Eng.
- Stress Analysis
🧮 ASME B31.3 Thickness Calculator
Calculate pressure design thickness (t) per Para 304.1.2.
Required Design Thickness (t):
0.000
*Does not include corrosion allowance or mill tolerance.
Step 1: The Pressure Design Formula (304.1.2)
The ASME B31.3 code provides several formulas depending on the t/D ratio, but for the vast majority of process piping (where t < D/6), we use the standard internal pressure formula (3a) found in paragraph 304.1.2:
Where t represents the Pressure Design Thickness. Note that this is not the thickness you buy from the vendor. It is purely the metal required to hold the fluid pressure without bursting.
Step 2: Understanding the Variables
Before plugging in numbers, you must extract the correct values from the Code Tables (Appendix A).
- P (Design Pressure): The maximum internal gauge pressure (psig or MPa).
- D (Outside Diameter): The actual OD of the pipe, not the nominal size. Example: For 10″ NPS, D = 273mm (10.75″).
- S (Allowable Stress): Found in Table A-1. This value changes based on temperature. As temperature rises, ‘S’ drops.
-
E (Quality Factor): Found in Table A-1B.
• Seamless Pipe: E = 1.00
• EFW Pipe: E = 0.85 (typically) - Y (Coefficient): Found in Table 304.1.1. It accounts for the yielding behavior of the material. For Ferritic steels below 482°C (900°F), Y = 0.4.
“Do not confuse ‘t’ (Pressure Thickness) with ‘t_nom’ (Nominal Thickness). The Code calculates what is needed to prevent bursting. Procurement must calculate what needs to be bought to account for manufacturing errors and corrosion.”

Step 3: The “Corrosion Allowance” Conflict (Solved Example)
Let’s address the Scenario 3 context. You are designing a hydrocarbon line. The Process Department demands a massive 6.0 mm Corrosion Allowance (CA) due to sour service. The Mechanical team argues this is excessive and will force a move to expensive Schedule 80 pipe. Who is right? Let’s calculate.
🧮 Calculation Data:
- Pipe Size: 10″ NPS (OD = 273 mm)
- Material: A106 Gr. B (Seamless)
- Conditions: 50 Bar (5 MPa) @ 300°C
- Allowable Stress (S): 138 MPa (Interpolated from Table A-1)
- Corrosion Allowance (c): 6.0 mm
- Mill Tolerance: 12.5%
A. Calculate Pressure Design Thickness (t):
t = 1365 / [2 (138 + 2)]
t = 1365 / 280
t = 4.87 mm
We simply add the mechanical allowances (Corrosion + Thread depth).
tmin = 4.87 mm + 6.0 mm
tmin = 10.87 mm
We must account for the 12.5% manufacturer under-tolerance.
tnom = 10.87 / 0.875
tnom = 12.42 mm (Required)
D. Final Schedule Selection (ASME B36.10):
We check the standard catalog for 10″ pipe:
- Schedule 40 Wall = 9.27 mm (FAIL)
- Schedule 60 Wall = 12.70 mm (PASS)
- Schedule 80 Wall = 15.09 mm (PASS)
Conclusion: The Process team’s requirement for 6mm CA forced the pipe from Sch 40 to Sch 60. The Mechanical team was correct; this change significantly impacts weight and cost.
Common Mistakes in Schedule Selection
1. Ignoring Mill Tolerance: Many engineers stop at $t_{min}$ (10.87 mm in the example above). If they ordered pipe with exactly 10.87 mm wall thickness, the manufacturer could legally deliver pipe that is 12.5% thinner (~9.5 mm), which would fail immediately.
2. Using Nominal ID instead of OD: The “D” in the formula is always the Outside Diameter. Do not use the nominal size (e.g., 10 inches) as the input variable.
EPCLand YouTube Channel
2,500+ Videos • Daily Updates
Table 304.1.1: Coefficient Y Values (Partial)
| Material | Below 482°C (900°F) | 510°C (950°F) | 538°C (1000°F) |
|---|---|---|---|
| Ferritic Steels (Carbon) | 0.4 | 0.5 | 0.7 |
| Austenitic Steels (Stainless) | 0.4 | 0.4 | 0.4 |
| Cast Iron | 0.0 | – | – |
Common Mill Tolerances
- Seamless Pipe: 12.5% under-tolerance (Multiply t by 1.143 or divide by 0.875).
- Welded Pipe (Plate): Generally 0.01″ (0.3mm) under-tolerance.
- Forged/Bored Pipe: As per specific manufacturing spec.
📝 Example Calculation: 8″ Process Water Line
Step 1: Calculate Design Thickness (t)
t = (1.96 × 219.1) / [2 × (137.9×1.0 + 1.96×0.4)] = 1.55 mm
Step 2: Add Corrosion Allowance
t_min = 1.55 + 1.5 = 3.05 mm
Step 3: Adjust for Mill Tolerance (12.5%)
t_nom = 3.05 / (1 – 0.125) = 3.49 mm
Step 4: Select Schedule
Next available commercial schedule for 8″ Pipe:
- Sch 20: 6.35 mm ✅ (Safe)
- Sch 40: 8.18 mm ✅ (Safe)
Selected: 8″ Sch 20 (or Sch 40 depending on availability)
Frequently Asked Questions
Does Mill Tolerance apply to welded pipe?
Yes, usually. However, the standard 12.5% under-tolerance is specific to common ASTM standards. Some plate-rolled (EFW) pipes might have tighter tolerances defined in their specific material specification (e.g., A672). Always verify the specific material spec before calculating.
Why does Allowable Stress (S) decrease with temperature?
Metals soften as they get hotter. The atomic bonds relax, reducing the material’s yield and tensile strength. ASME B31.3 Table A-1 provides specific stress values for each temperature step to ensure the pipe doesn’t deform or burst under thermal stress.
What is the difference between ‘t’ and ‘t_min’?
‘t’ is the Pressure Design Thickness (calculated purely for internal pressure). ‘t_min’ is ‘t’ plus all mechanical allowances (Corrosion Allowance + Erosion + Thread Depth). You must order a pipe thickness greater than ‘t_min’ after subtracting mill tolerance.
When do I use the coefficient Y = 0.4?
Use Y=0.4 for Ferritic Steels (like A106, A333, A53) when the design temperature is below 482°C (900°F). Above this temperature, the material enters the creep range, and the coefficient Y increases (see Table 304.1.1).
Conclusion
Calculating pipe thickness per ASME B31.3 is more than just plugging numbers into a formula. As shown in our “Corrosion Conflict” example, understanding the interplay between Process requirements (Corrosion Allowance) and Procurement constraints (Mill Tolerance & Schedule availability) is vital.
Always remember the hierarchy: tpressure < tmin < tnominal. Skipping a step in this chain is the most common cause of piping code violations.
🚀 Master Piping Engineering?
Don’t just read about it. Get the full industry-ready training.
View Complete Course
About the Author:
This article was researched, written, and verified by the Epcland Engineering Team. We provide practical, code-compliant insights for Piping, Mechanical, and Process engineers in the EPC industry.


